Material Compatibility: Why Crafters Choose a Carbon Dioxide Laser Engraving Machine
Optimal Absorption at 10.6 µm: Seamless Interaction with Organic and Non-Metallic Craft Substrates
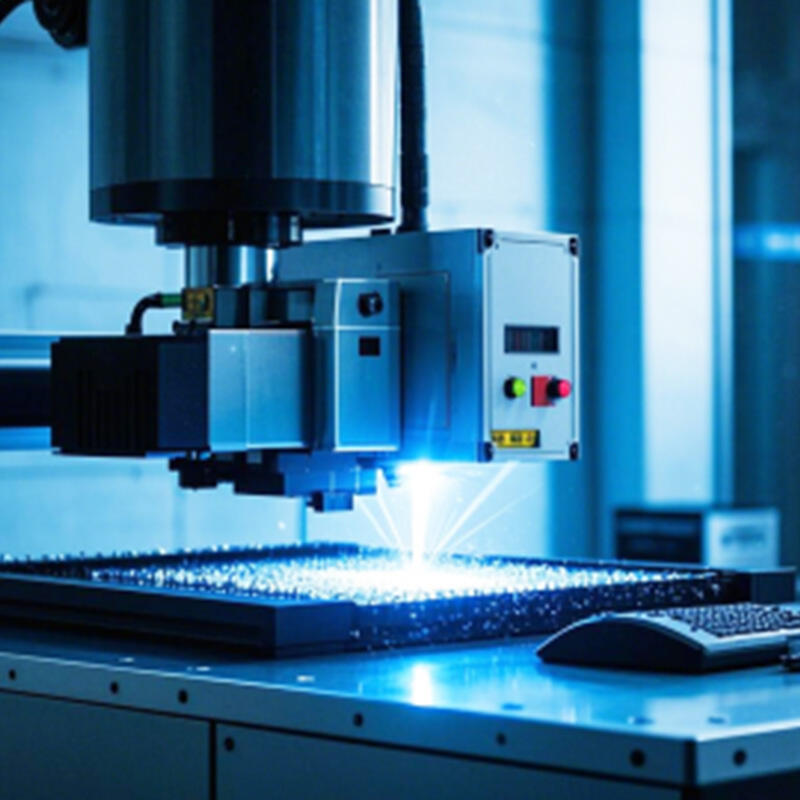
CO2 laser engravers work at around 10.6 micrometers, a wavelength where many organic and non-metal materials really soak up energy well. Materials like wood, leather, paper, acrylics, fabrics, and even rubber take in this wavelength pretty effectively, so when the laser hits them it basically vaporizes stuff right away without bouncing much back. Metals are different though they tend to bounce off about 60 to 70 percent of that same wavelength energy. But these other materials turn more than 95% of what hits them into heat, which makes for nice clean engravings on things like thin plant papers or solid cuts through thick bamboo. The reason this works so well is because the laser interacts naturally with the molecules in stuff like cellulose, plastics, and those protein structures found in animal hides. No special prep or coatings needed either, which sets CO2 lasers apart from UV or fiber laser systems that often require additional treatments before engraving.
Verified Performance Across Wood, Acrylic, Leather, Fabric, Paper, and Rubber
Carbon dioxide lasers deliver consistent, production-ready results across the six most common craft substrates—validated through field testing and manufacturer specifications:
- Wood: Minimal charring on maple and birch at 25% power and 200 mm/s
- Acrylic: Smooth, polished edges on cast varieties (0.05 mm kerf width)
- Leather: Clean, non-perforating etching on vegetable-tanned hides
- Fabric: Thermally sealed synthetic edges that resist fraying
- Paper: High-fidelity lace patterns at 300 dpi resolution
- Rubber: Reliable 0.8 mm engraving depth for custom stamp production at 80 W
Across these materials, deformation rates remain below 1.2% when using recommended settings—ensuring repeatability essential for multi-material craft projects like layered boxes, mixed-media journals, or textile appliqué kits.
Precision and Finish Quality for Decorative Craft Applications
Sub-0.1 mm Spot Size Enables Micro-Detail Engraving and Clean Vector Cutting
Carbon dioxide lasers with their tiny focal spots under 0.1 mm offer amazing control over where they cut and engrave, which makes all the difference when creating detailed decorative work. These fine beams can carve out beautiful plant designs in wood, delicate lace patterns on vellum sheets, and create textures on leather that no regular tool could match. When doing vector cuts, these lasers give clean edges without splinters in materials like acrylic or rubber, and they handle thin wood veneers and layered papers without damaging them. What really matters though is how this level of accuracy reduces wasted material and allows for those super precise fits needed for things like puzzle-like inlays, parts that nest together tightly, and small scale prototypes. For artists making custom products, these benefits just cant be beat.
Thermally Sealed Edges vs. Mechanical Methods: Less Fraying, Charring, or Delamination
Laser processing works differently from traditional routers or blades that cause vibrations, compression issues, or mechanical stress. Instead, lasers seal edges right there on the material using heat fusion in specific spots. Fabrics end up with edges that won't fray easily. Leather keeps its nice clean look without burning marks if the laser settings are just right. Plywood doesn't split apart like it often does with regular cutting tools because those blades create shear forces. Even really thin stuff matters too. Think about 0.1 mm thick paper used for making intricate paper art or 0.3 mm balsa wood for models. These delicate materials stay stable in size and keep their original appearance after cutting. The sealing effect goes beyond just looking good. It actually makes finished products last longer, particularly important for items whose edges get handled frequently or exposed to different environments over time.
Practical Parameter Tuning for Consistent Craft Results
Power–Speed–Focus Calibration Framework for Common Craft Materials
Getting consistent results depends on finding the right balance between three main factors: laser power percentage, travel speed in millimeters per second, and where the focal point lands. When it comes to power settings, too much can burn through materials like paper or thin leather if we go over 80%. Not enough power just doesn't get the job done properly. Travel speed affects how long the laser stays on each spot. Slower speeds mean more heat builds up which helps cuts go deeper but also increases chances of burning organic materials. Getting focus right matters just as much. Even small mistakes here make a big difference. Our tests showed that being off by half a millimeter from the ideal focal position drops actual power effectiveness around 40%. For most craft projects, these are good baseline numbers to start experimenting with different materials.
- Wood: 50–70% power, 300–500 mm/s, surface-level focus
- Acrylic: 30–50% power, 400–700 mm/s, +1 mm defocus to suppress surface melting
- Fabric: 15–25% power, 800–1200 mm/s, surface focus with air assist to dissipate smoke and cool edges
These values serve as proven anchors—not rigid prescriptions—and should be adjusted incrementally based on material thickness, grain orientation, and machine-specific optics.
Beginner-Friendly Test-Run Workflow to Achieve Reliable Engraving and Cutting
For folks just getting started, going through a proper calibration process first really makes a difference when it comes time to work with actual stock materials. Start off with those baseline settings suggested by the manufacturer for whatever material they're working with. Then create a simple 3x3 grid pattern on some scrap pieces instead of wasting good material. The idea is to change just one setting at a time across different areas. Maybe boost the power setting by 10% as we move left to right across the grid, while slowing things down gradually by reducing speed in 100 mm/s intervals from top to bottom. Once everything runs through, take a close look at each section of the grid to see what worked best and what didn't quite hit the mark.
- Uniform engraving depth and contrast
- Edge smoothness and absence of burrs or melt lines
- Visual signs of scorching, warping, or fiber lifting
Find the sweet spot where picture quality meets structural strength, then put those settings to the test with something complicated like intricate flowers inside each other or images with multiple shades of gray. According to research done in maker spaces across the country, following this approach cuts down on wasted materials by around two thirds when compared to just guessing and adjusting as we go along. Keep track of what works best for different materials, how thick they are, and what kind of finish we want to achieve. Maybe start with a simple notebook or spreadsheet. What matters is turning all those trial and error experiments into actual knowledge that can be used again and again for better results every time.
FAQ Section
What materials are compatible with CO2 laser engraving machines?
CO2 laser engraving machines are compatible with organic and non-metal materials such as wood, leather, paper, acrylics, fabrics, and rubber.
Why are CO2 lasers preferred over other types of lasers for crafting?
CO2 lasers are preferred because they interact naturally with the molecular structures within organic materials and do not require special preparation or coatings, unlike UV or fiber lasers.
How does the precision of CO2 lasers benefit craft applications?
The sub-0.1 mm spot size of CO2 lasers enables micro-detail engraving and clean vector cutting, allowing for intricate designs and minimizing material waste.
What are the benefits of thermally sealed edges in laser processing?
Thermally sealed edges prevent fraying, charring, or delamination, offering longer-lasting finished products with stable sizes.